
Sometimes, you will encounter a situation where your laptop cannot catch wifi on Win 10 and this often has a big impact on your work and study. At this time, don’t worry about taking your device to a repair center, but try some of the effective fixes below!
Why can’t my laptop catch wifi on Windows 10?
There are many reasons why your computer cannot catch wifi. Understanding the cause makes it easier for you to take corrective measures and below are some typical causes that you can refer to:
- The network system, wifi transmitter or wifi router is having problems.
- The wifi transmitter is not turned on or activated.
- The wifi connection feature of the Win 10 computer is not enabled or has been disabled.
- Laptop infected with virus, malware leading to error of not being able to catch wifi.
- The computer is using VPN or other fake IP software causing the error.
- The driver is outdated, not installed, infected with a virus, unstable or has a software conflict.
Solution to fix laptop error that cannot connect to wifi in Windows 10
After finding out the cause, you can perform the following steps to fix the error:
Check your computer’s wifi transmitter
The most common cause of this error is that the wifi transmitter is turned off or is not working properly. So, when the computer cannot catch wifi, the first thing you should do is check the wifi transmitter by accessing wifi through other devices such as tablets, phones, etc.
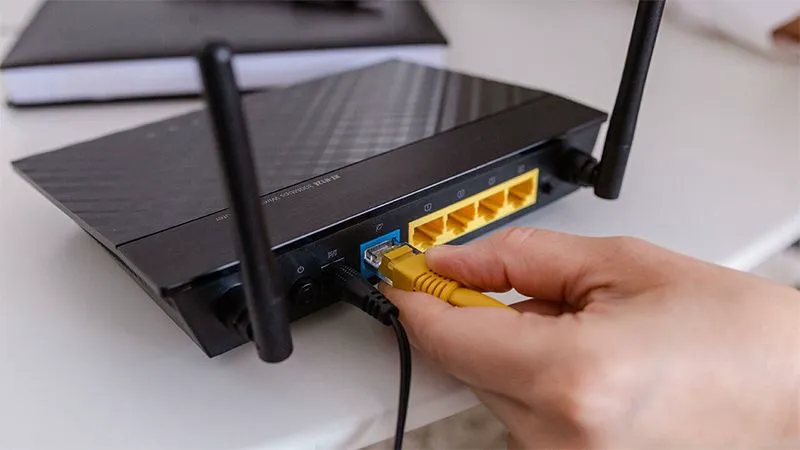
If all are inaccessible, it is likely that the Wifi transmitter is faulty, you can restart this device and reconnect after a few minutes. In addition, in case the wifi is still unstable, sometimes it is available and sometimes it is not, it is best to call the network provider for support.
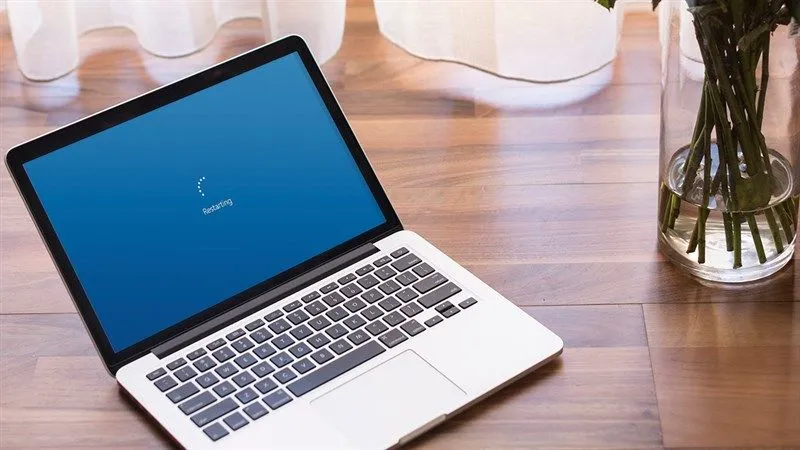
Restart to fix laptop that cannot connect to wifi in Windows 10
This is a fairly simple but extremely effective way. Maybe the laptop is having an error or software conflict somewhere and this is causing an interruption in the wifi connection. At this point, you just need to restart the computer to refresh Windows and fix the above error.
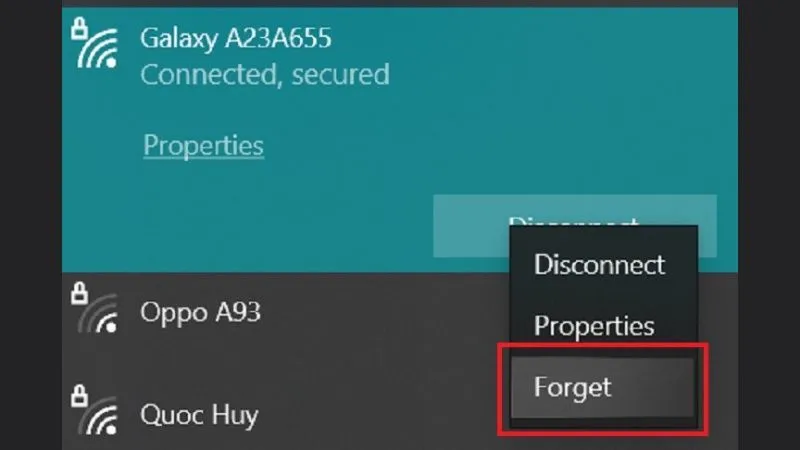
Delete wifi then try to connect again
This is also a pretty good and easy way to do it. First, you just need to click on the wifi icon in the lower right corner of the laptop screen, then continue to select the wifi you want to delete and right-click. Immediately after that, there will be 3 options displayed, including Forget, Properties and Disconnect, select Forget and then reconnect to fix the error.
Scan the entire laptop for viruses
As mentioned above, a laptop that cannot connect to Windows 10 wifi may be due to the fact that the computer has been infected by a virus. At this point, you just need to download and install anti-virus software, or use pre-installed anti-virus software to scan and remove viruses from the device.
Turn off airplane mode when the laptop cannot catch wifi in Windows 10
In some cases, you may have accidentally turned on airplane mode, causing your laptop to not be able to connect to wifi. Because, with this mode, the device will disconnect all connections, including wifi. So, you just need to check again and turn off airplane mode and your laptop can reconnect to wifi as usual.
Adjust WiFi location appropriately
The laptop’s network connection speed is also affected by the wifi location. Even if you place it incorrectly, the laptop cannot catch the wifi. In addition, there are other causes of this error such as too many devices connected to that wifi. So, place the wifi in a suitable location to ensure the connection speed for devices in the house.
Reactivate wifi with shortcut
Most laptops today have key combinations or shortcuts to quickly turn wifi on/off. Therefore, sometimes you will accidentally turn off this function, causing your laptop to not catch wifi Win 10 without knowing it. At that time, check the wifi connection on your laptop, or press the following key combinations to restart wifi:
- For Dell laptops: Use the key combination Fn + PrtScr
- For Asus laptops: Use the key combination Fn + F2
- For Lenovo laptops: Use the key combination Fn + F5 (or F2)
- For HP and Toshiba laptops: Use the key combination Fn + F12
Check your laptop’s network settings in the Control Panel section
The reason why laptops cannot catch wifi on Windows 10 sometimes comes from network settings errors. To check and fix effectively, please refer to the following instructions:
Step 1: First, access the Control Panel section, then click on the Network and Sharing Center section.
Step 2: Here, continue to click on Change adapter settings to check wifi status.
Step 3: If in the Wifi section there is a gray icon, just right-click on it, then select Connect and you’re done.

Turning off battery saving mode causes the laptop to not be able to connect to wifi in Windows 10
Sometimes you accidentally turn on battery saving mode, causing the wifi connection function to be affected. To fix it, you just need to follow these steps:
Step 1: First, open the Run window with the Windows + R key combination.
Step 2: Next, in the Open section, enter the command ncpa.cpl, then click OK to go to the next step.
Step 3: Now, right-click on wifi 2, then select Properties.
Step 4: Now, you need to click on Client for Microsoft Networks, then click Configure.
Step 5: Finally, just uncheck “Allow the computer to turn off this device to save power” in the Power Management section and you’re done.
Fix error with Wireless Network Adapter Driver installation
You can fix the error of your laptop not being able to connect to wifi in Windows 10 by reinstalling the Wireless Network Adapter Driver software. Here’s how:
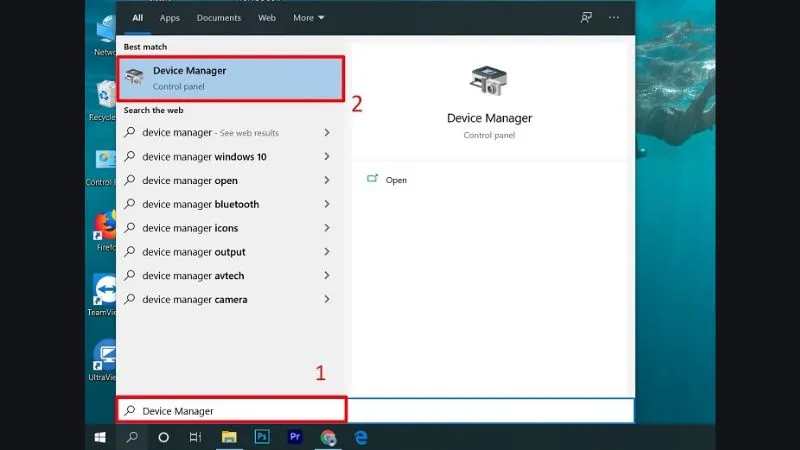
Step 1: First, type the keyword Device Manager in the Search box of Start.
Step 2: Then, go to Device Manager and click Network Adapters.
Step 3: Now, you will see the adapters, click on Wifi Adapter then right-click and select enable.
Step 4: Now, you will see a section that says Confirm Device Uninstall, select Uninstall.
Step 5: At Device Manager, continue to click Action and then click Scan for hardware changes. Finally, restart your laptop and you’re done.
Reinstall WiFi Driver to fix laptop not catching wifi Win 10
Driver Talent is a software program that allows you to check and update faulty WiFi drivers. This is a fairly effective way to fix the error with the specific steps:
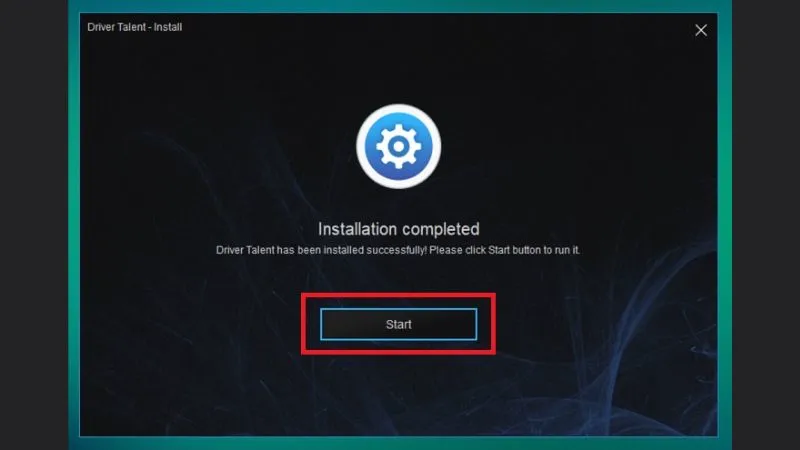
Step 1: First, you need to download Driver Talent to your computer and install the file.
Step 2: After completing the installation process, select Start to launch Driver Talent.
Step 3: Now, click Scan and then click Download to the Wlan driver.
Step 4: The software will automatically download the driver and you just need to click Install, then restart your laptop to complete.
Refresh TCP/IP stack for laptops
You can try refreshing the TCP/IP stack to fix the problem of the laptop not catching wifi Win 10. The steps are quite simple, specifically:
Step 1: First, press the Windows key, then type CMD.
Step 2: Then, right-click at Command Prompt and continue to select Run as administrator.
Step 3: Here, you need to enter the command netsh int ip reset, then Enter and restart the laptop to complete.
Fix laptop error that cannot connect to Windows 10 wifi with Command Prompt
The following solution is quite complicated and only suitable for those who are knowledgeable about computers. For those who do not have much experience, you should be careful because if you edit the registry incorrectly, you can cause many different consequences. Therefore, it is best to back up the registry before making any changes to prevent the worst case scenario.
Step 1: First, click the Windows button, then enter CMD in the dialog box, continue to right-click and select Command Prompt and then go to the Run as administrator section.
Step 2: Next, you need to enter the command line dialog box as below, then press Enter:
reg delete HKCR\CLSID{988248f3-a1ad-49bf-9170-676cbbc36ba3} /va /f
Step 3: Here, continue to enter the following command and press Enter:
netcfg -v -u day_day
Step 4: Finally, you just need to restart your laptop and check if the error has been fixed.
Use Troubleshooter to fix wifi not connecting error
There is a familiar tool built into Windows 10 that you can use to fix this situation: Internet Connection Troubleshooter. When you encounter network problems, you can fix them with the following steps:
Step 1: First, at Start, click on Settings.
Step 2: Now, continue to select Update & Security.
Step 3: In the list on the right side of the screen, you will see Troubleshoot, select that item and then continue to click on the Internet Connections line.
Step 4: Finally, just click Run the troubleshooter to start the automatic error fixing process.
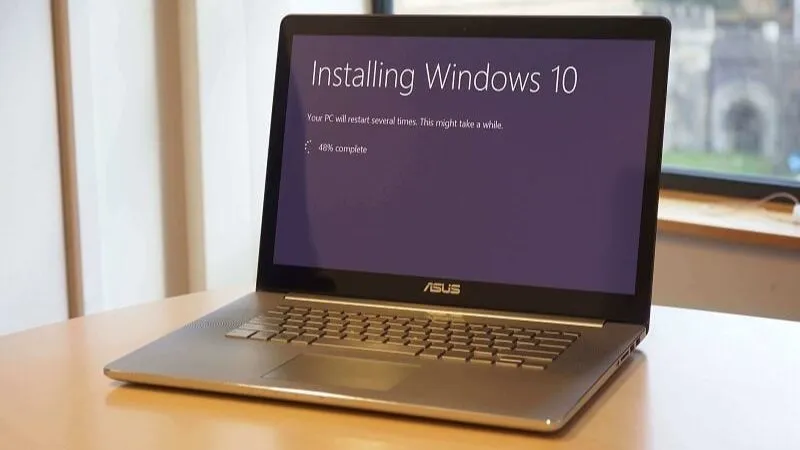
Reinstall Windows operating system on computer
If you have tried all the above methods but your laptop still cannot connect to wifi, it is best to reinstall Windows for your laptop. However, this can cause you to lose all important data in your laptop, so before doing this, back it up carefully and restore it after success.
Bring your device to a repair center for support.
After the above steps, if the error still appears, it is likely that the computer’s wifi card is damaged or faulty. At this point, there is no other way, you must bring your laptop to a reputable repair center for support and troubleshooting.
