I’ve never used a large monitor. My last monitor was an old 19-inch Benq, which my parents bought for me in the mid-2000s.
I’ve been working on a MacBook for almost 10 years now, and have always used only 13-inch models. My main computer now is a MacBook Air with an M1, and I haven’t needed a big screen in a long time. Over the years I’ve gotten used to the small display.
But at the end of 2024, I decided to try working with an external monitor. There were several reasons for this. The first is that the MacBook Air screen is physically not enough. For example, I often have more than 30 tabs open in my browser, and the new tabs simply do not fit on the screen.
The second reason is that I wanted to set up a full-fledged workplace, and there’s no way without an external monitor.
Now I’ll tell you what parameters I used to choose the monitor, which one I ended up buying, and what changed in the work.
Briefly:
How to choose a monitor
I had several criteria for choosing a monitor:
︎ Diagonal – 27 inches
︎ Resolution — 4K
︎ Refresh rate – 60 Hz
︎ USB-C support
I wanted a large monitor, so 27 inches was the starting point. I also considered 32-inch models, but immediately refused widescreen 34-inch monitors because they are too wide and the 21:9 aspect ratio does not suit me.
4K is the base. At 2K resolution, there will be noticeable pixels on a 27-inch monitor. I agree, ideally you need 5K, but a good monitor with such a resolution will be very expensive. The problem with macOS, resolutions and scaling has been greatly exaggerated. In practice, macOS works fine at 4K resolution. Pixels can be seen, but only upon closer inspection. In normal life you won’t do this. I sit about 60 cm away from the monitor, and the pixels are not noticeable at all.

I considered 60 Hz for several reasons. First of all, I don’t need any more. Secondly, the higher the Hertz, the higher the price. In addition, other tradeoffs may arise.
USB-C was necessary because I wanted to connect the monitor to a laptop without adapters and charge it with one cable.
Oh, and all this should cost reasonable money. In the end I chose the monitor Redmi A27U (P27UCB-RA). This is a 27-inch monitor with 4K resolution, 60Hz and USB-C support. I bought it for 20 thousand rubles, and for this price it has no competitors.
The model was introduced in September 2024, and although I purchased it in December, at the time of purchase there was practically no information about it: only press releases and a few short videos in Chinese. But I decided to take a risk – and not in vain.
Briefly about the Redmi monitor
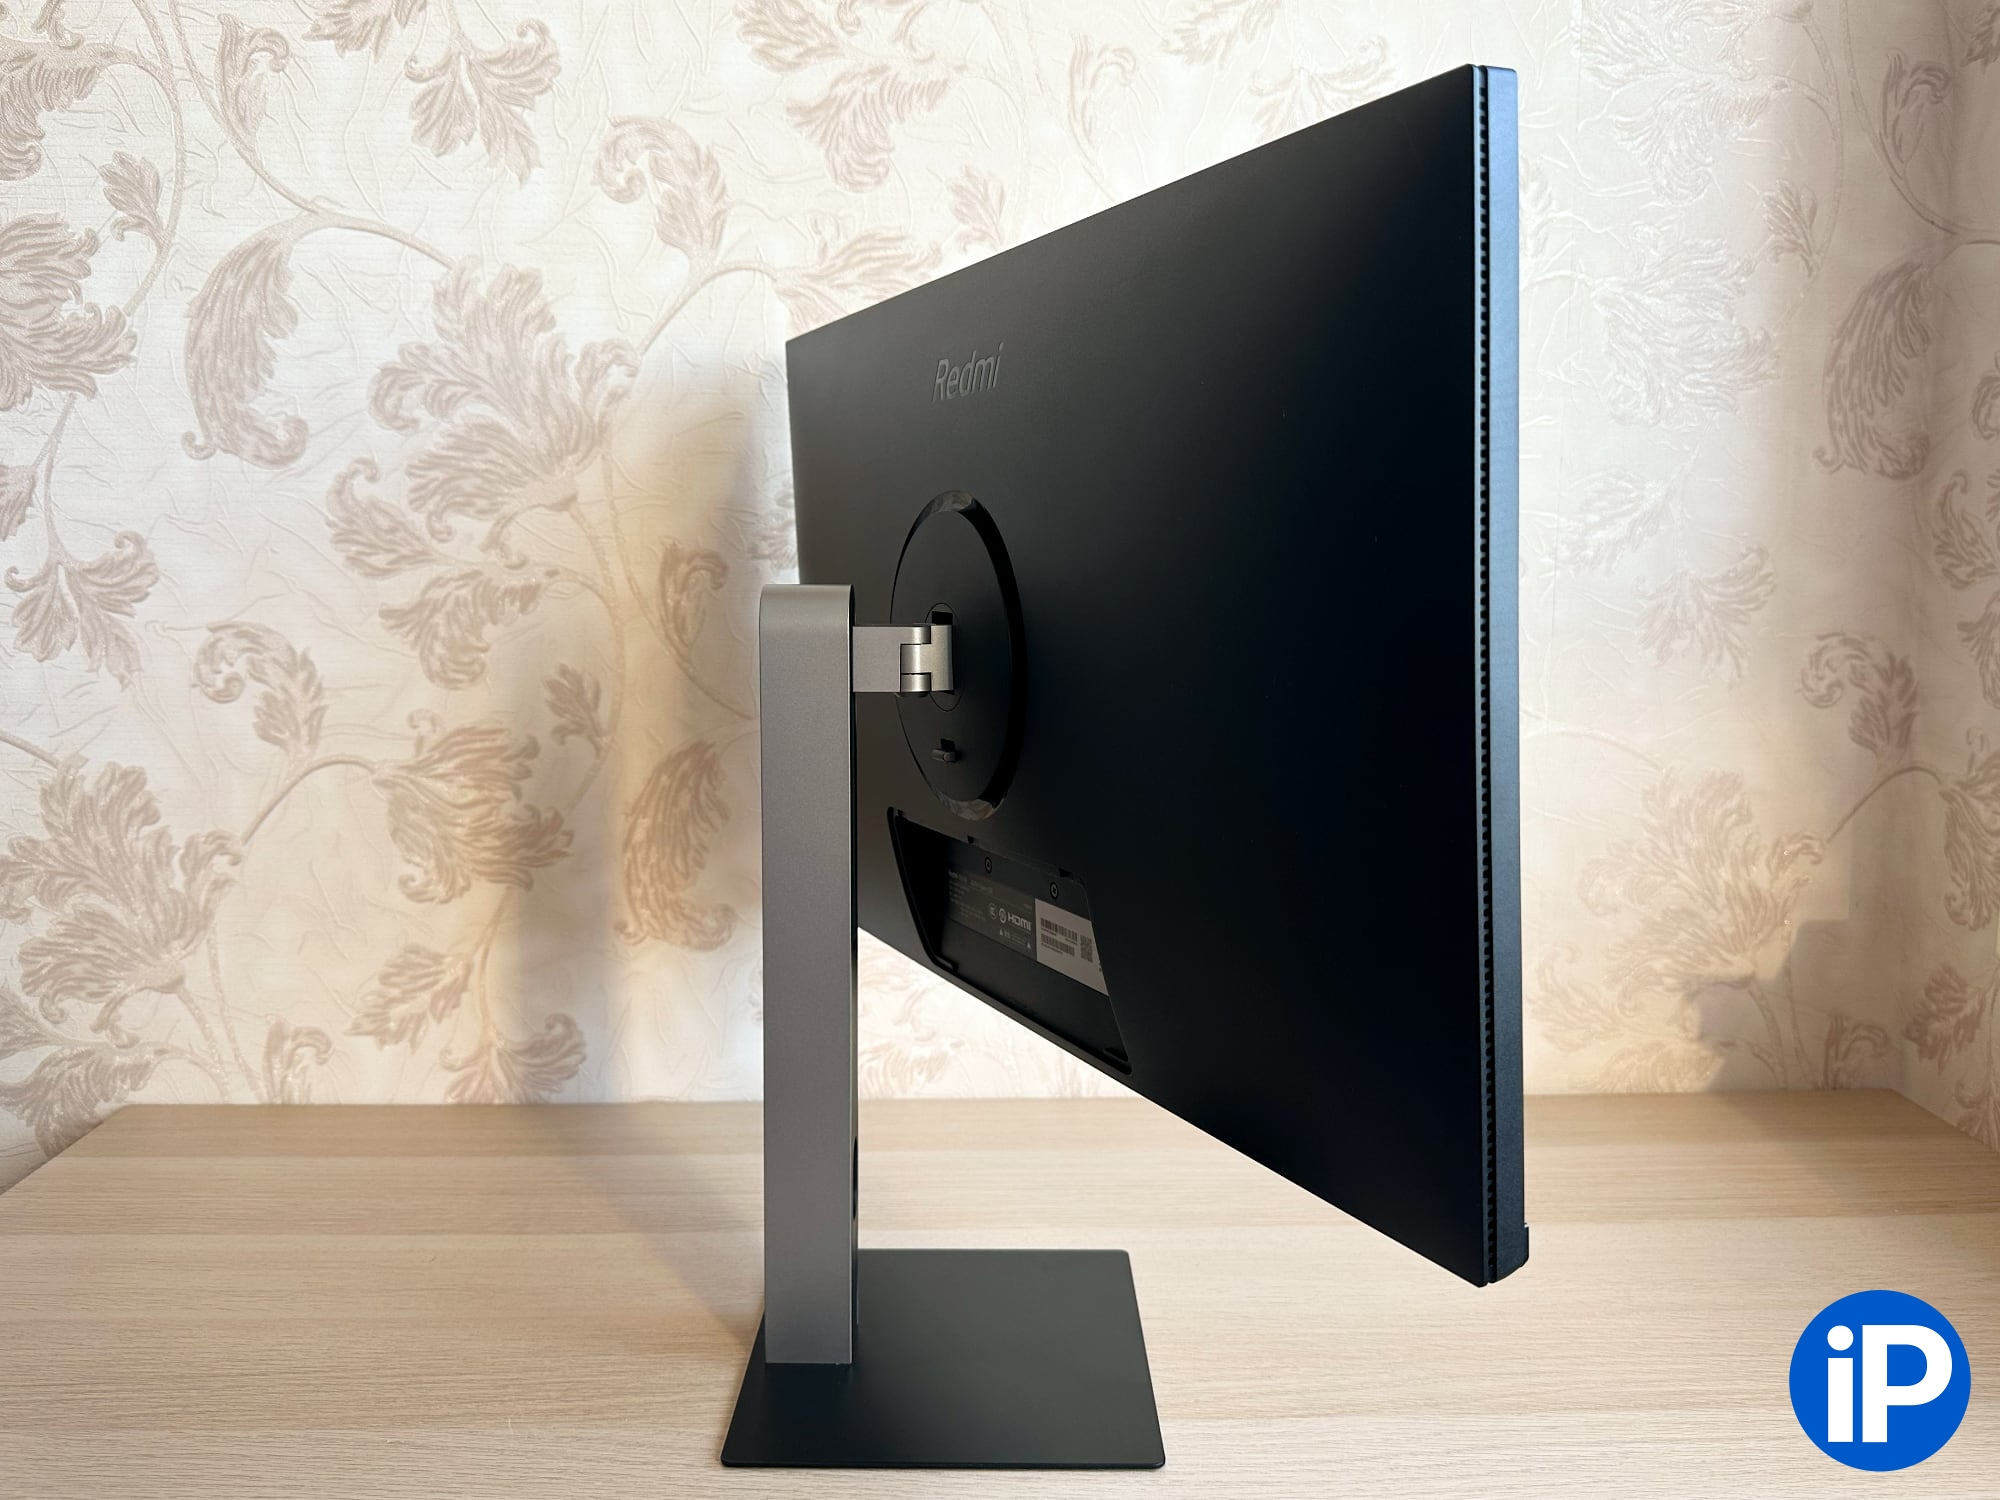
The monitor itself has thin frames. There is only the Redmi logo on the back, and there is no inscription on the front.
The monitor leg is made of metal, it is heavy, and the monitor rests firmly on it. It is possible to adjust the height, tilt the screen and rotate it 90 degrees. The leg has a hole for cable management.
Height adjustment turns out to be a really important thing. After this, I am even more surprised that the basic version of Apple Studio Display, which costs about 300 thousand rubles, does not have it.
In the lower right corner there is a small white LED that signals operation. It is not bright and not noticeable at night. If you lower the monitor and sit close to the table, the LED will not be visible at all.
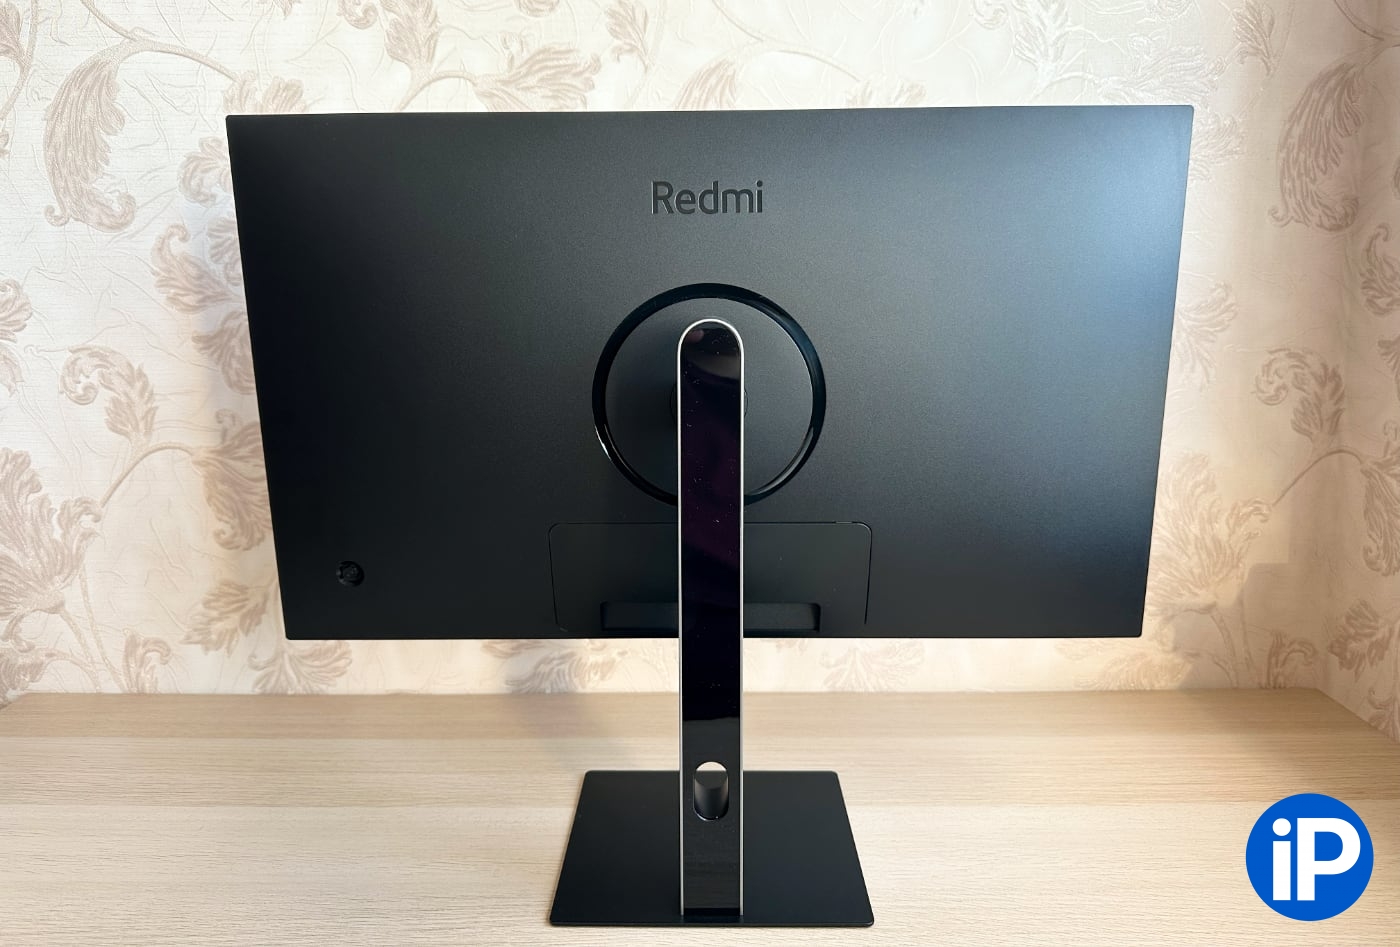
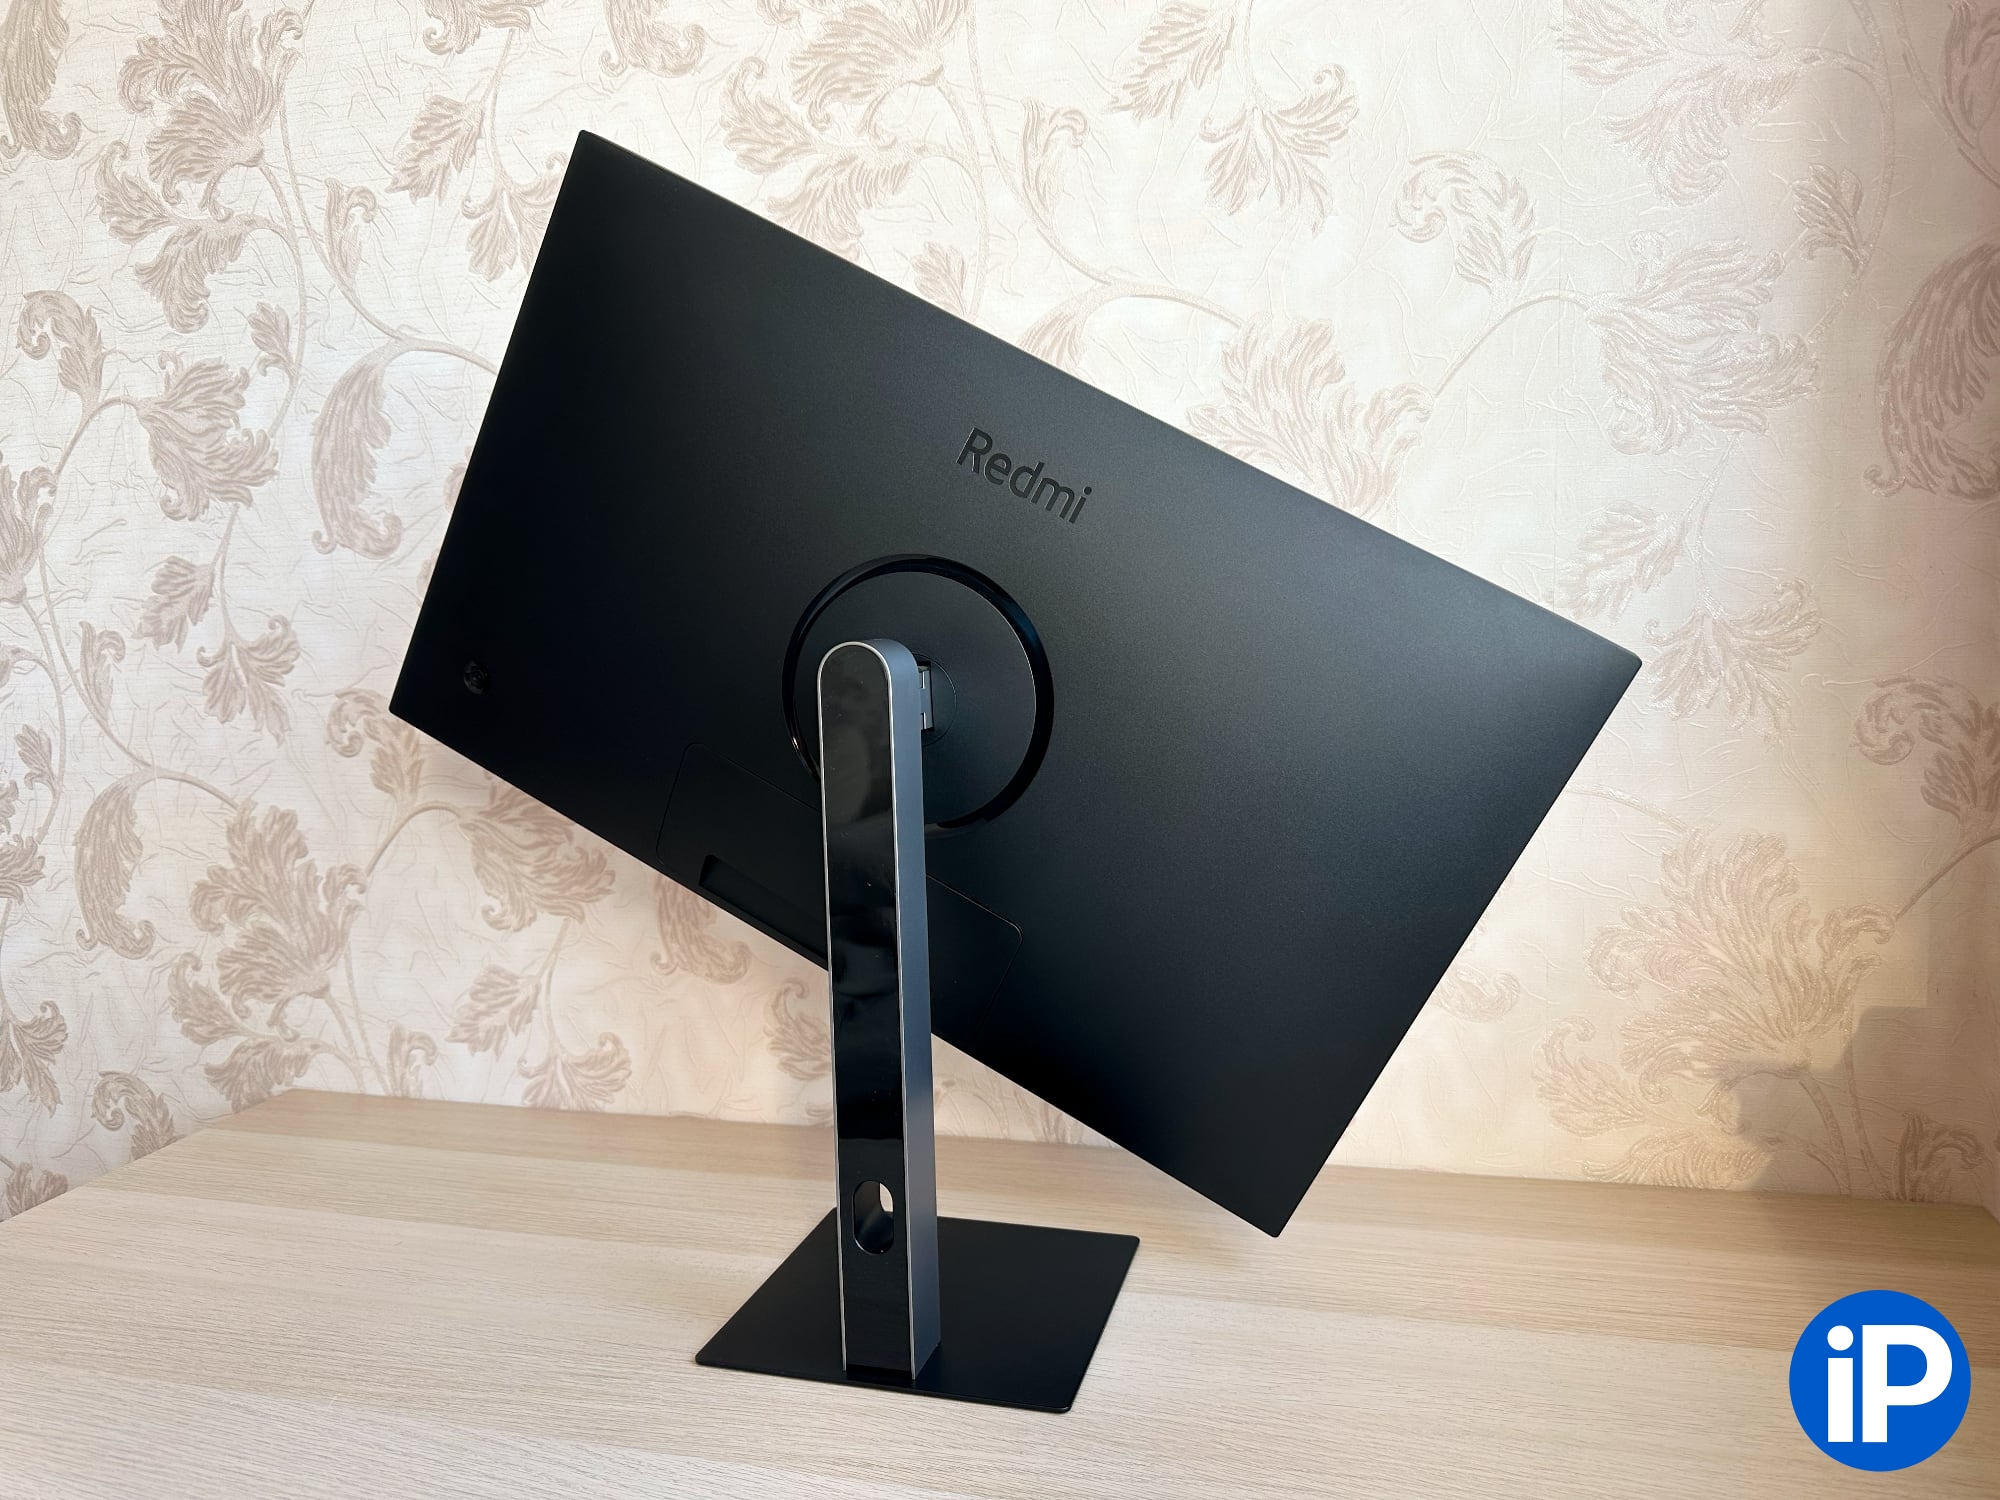
Settings are controlled using the joystick on the rear panel. It is easy to feel with your right hand. The menu is clear and available in English.
The monitor connects to the computer via USB-C (cable included). There is also an HDMI cable in the box. The following connectors are located on the rear panel:
︎ One USB-C
︎ Two HDMI 2.0
︎ One DisplayPort 1.4
︎ Two USB-A 2.0
︎ Audio jack 3.5mm
︎ Power connector
You can connect various peripherals to the monitor, and then connect everything to your computer with one USB-C cable.
When you connect the monitor to your laptop, it charges automatically. The included power supply produces up to 90 W, which is enough for most laptops.
Necessary minimum for comfortable work
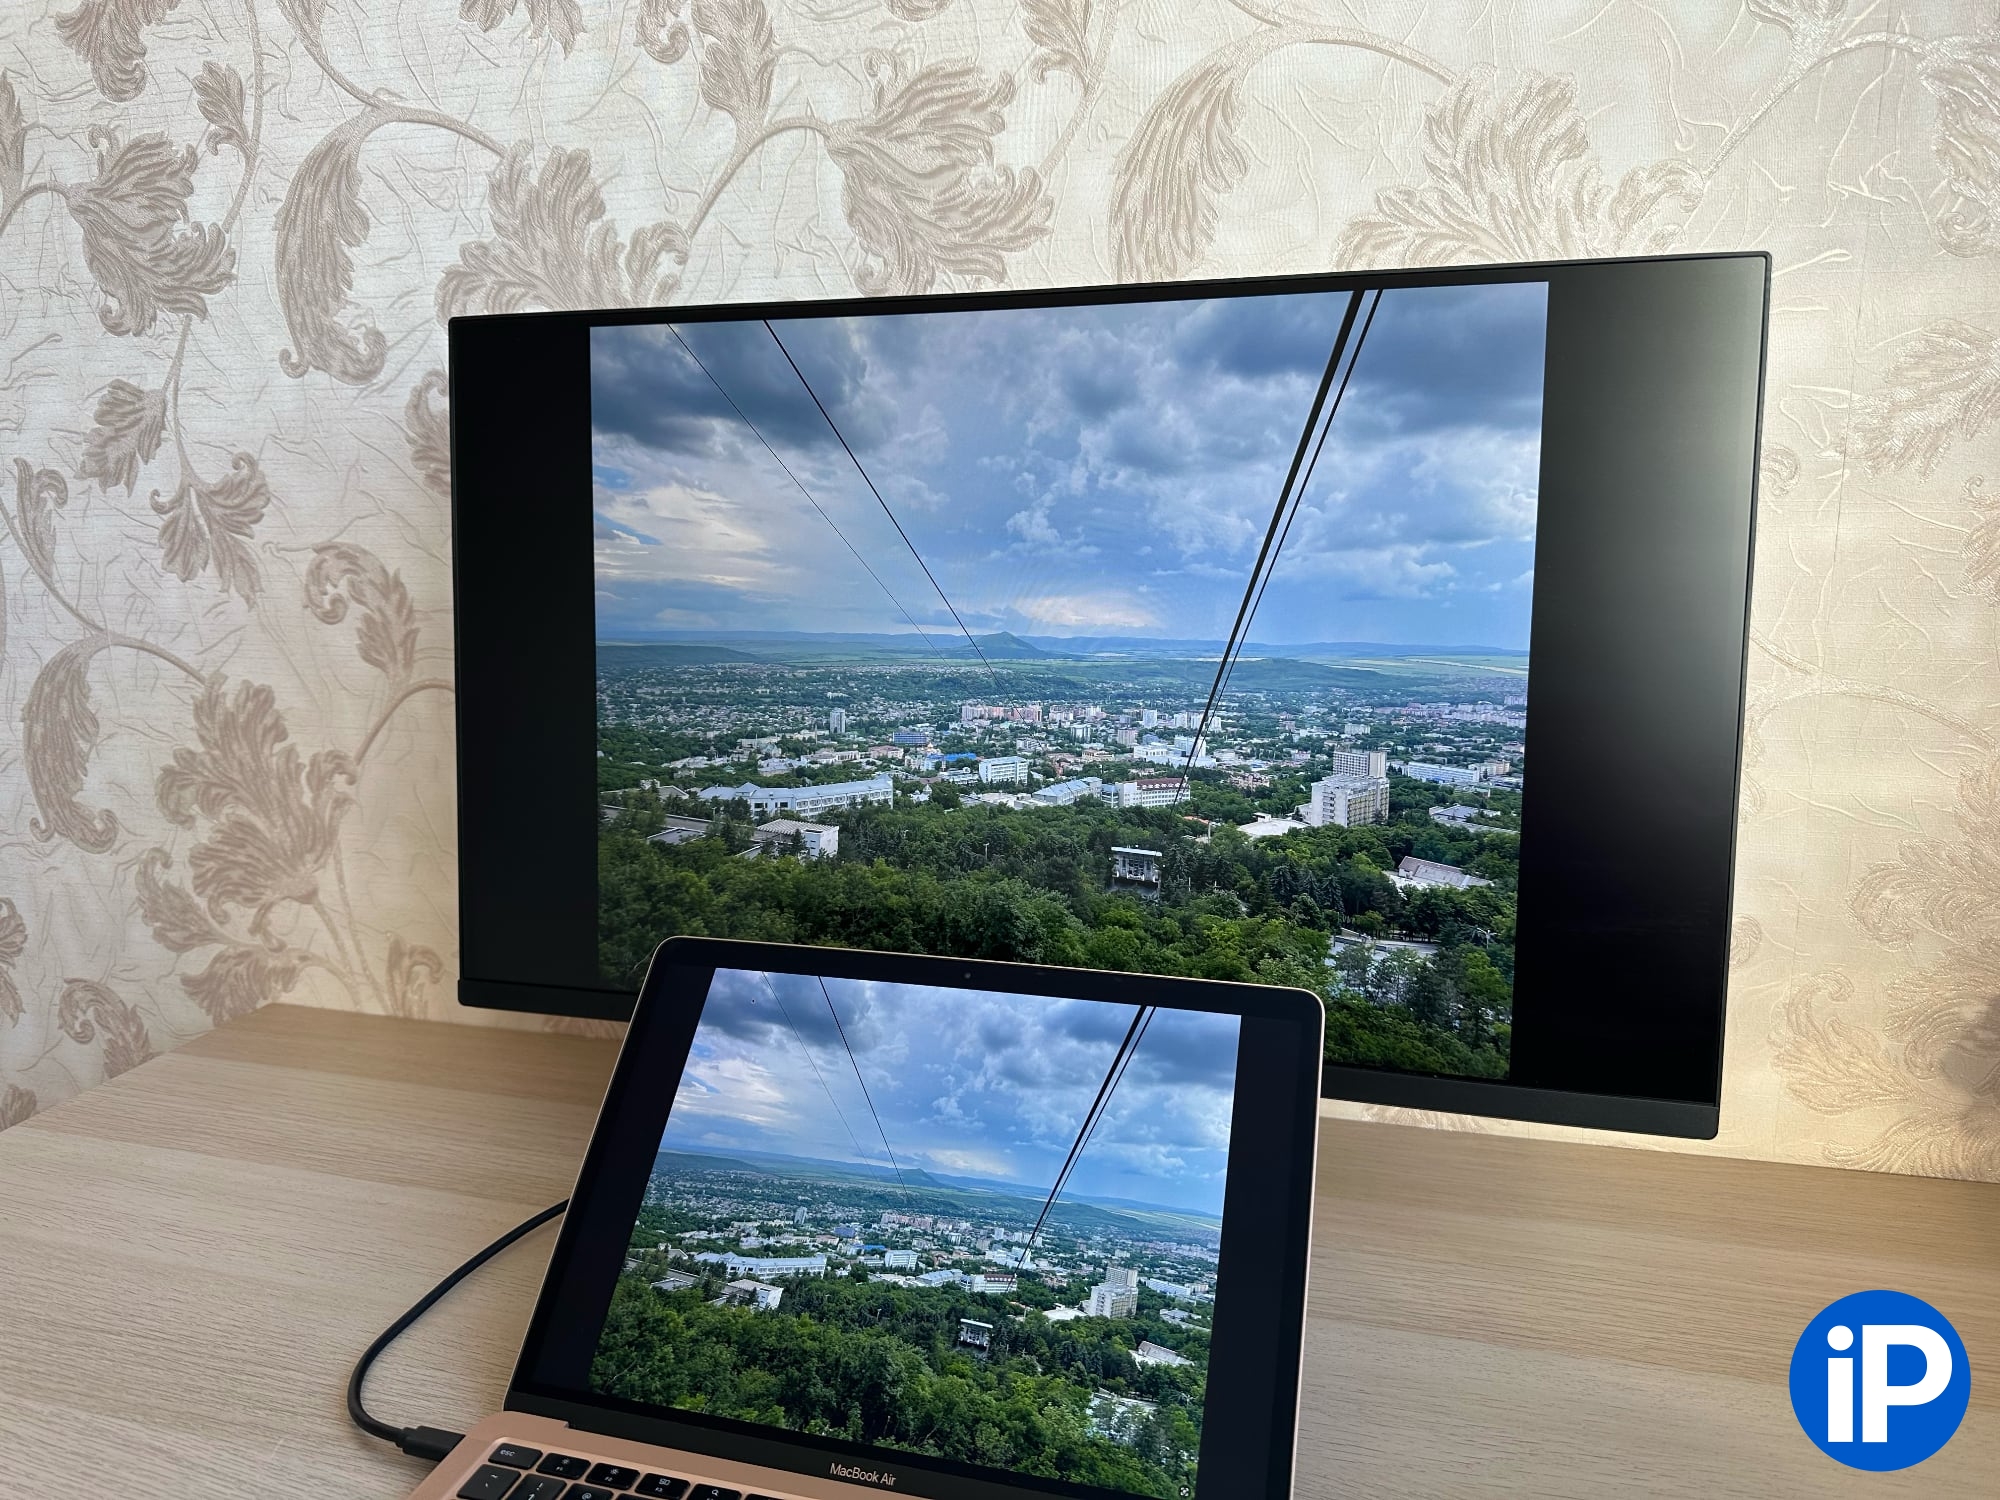
Redmi A27U has a matte IPS screen with 8 Bit+FRC technology (10 Bit, 1.07 billion colors). The manufacturer claims 100% sRGB coverage, 95% DCI-P3 and ΔE<1. In reality, the color rendition of the monitor is close to the MacBook Air screen. The only difference is that the Mac's screen is slightly cooler. But this difference is noticeable only in direct comparison.
If desired, the image can be customized to suit you; all the necessary sliders are there. In the monitor settings, I selected the DCI-P3 color profile and increased the contrast slightly.
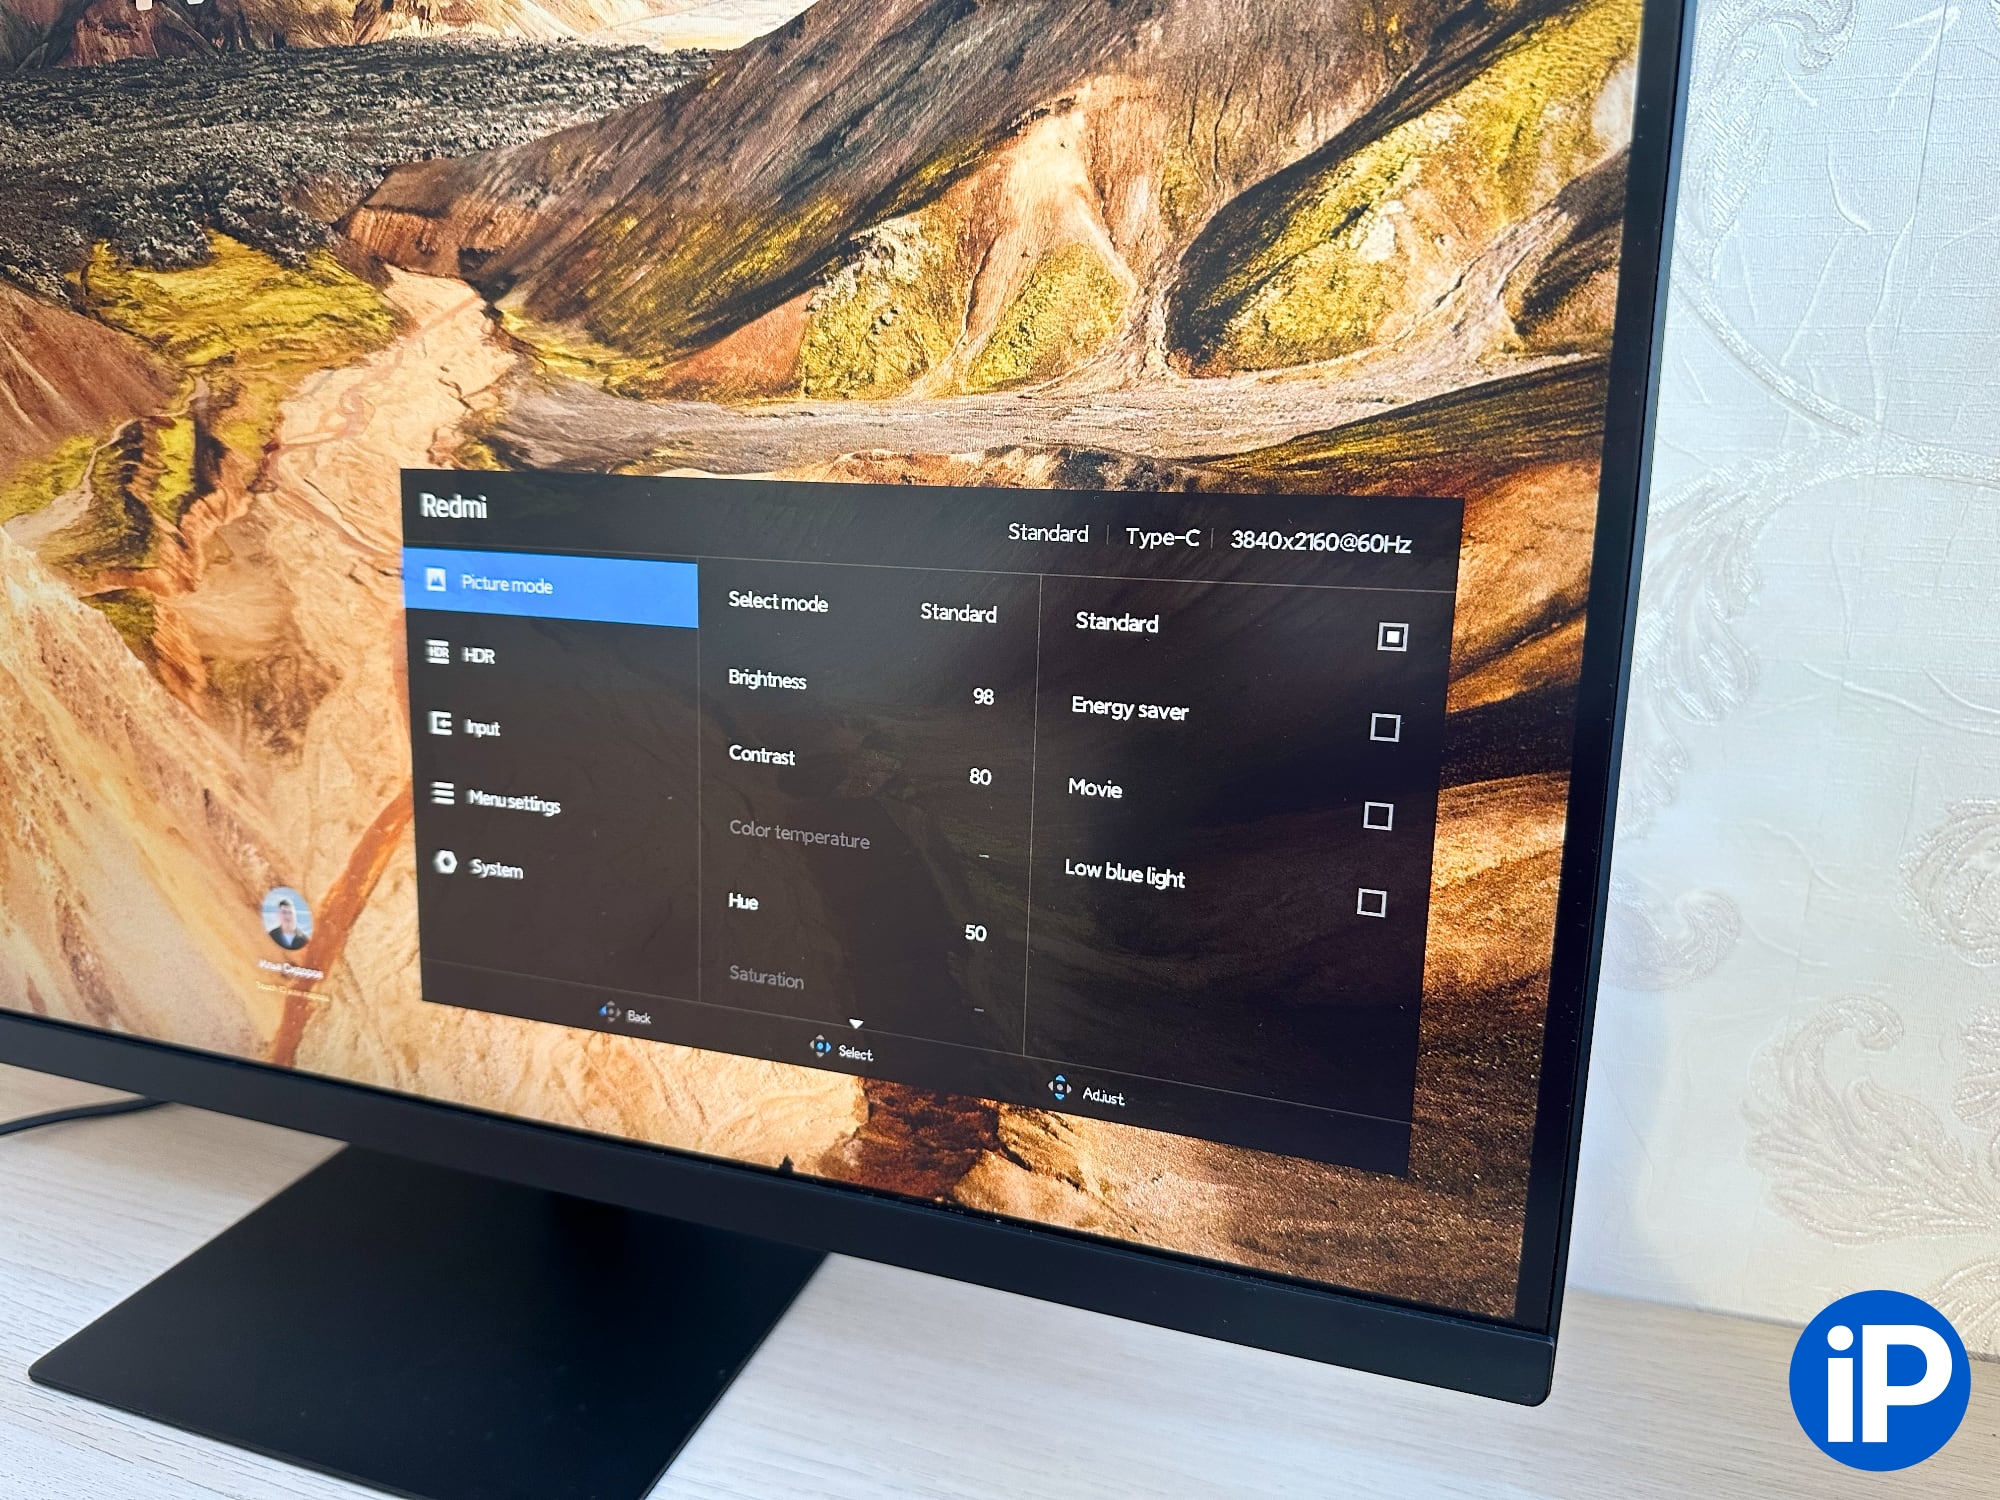
Brightness is stated at 300 cd/m². During the day it is enough, but at night you have to reduce it. The monitor stands near the open window. On a sunny day, glare falls on the edge of the screen, but does not interfere with work.
Viewing angles were disappointing when displaying black, especially compared to the Mac screen. There are also highlights on the sides, which are noticeable against white and black backgrounds when you sit in front of the monitor. This cannot be fixed, but it is also not critical.
Apart from glare, the rest of the display's performance is the bare minimum for a modern monitor if you want image quality to match the MacBook's screen and a comfortable viewing experience.
What you need to know before buying a large monitor
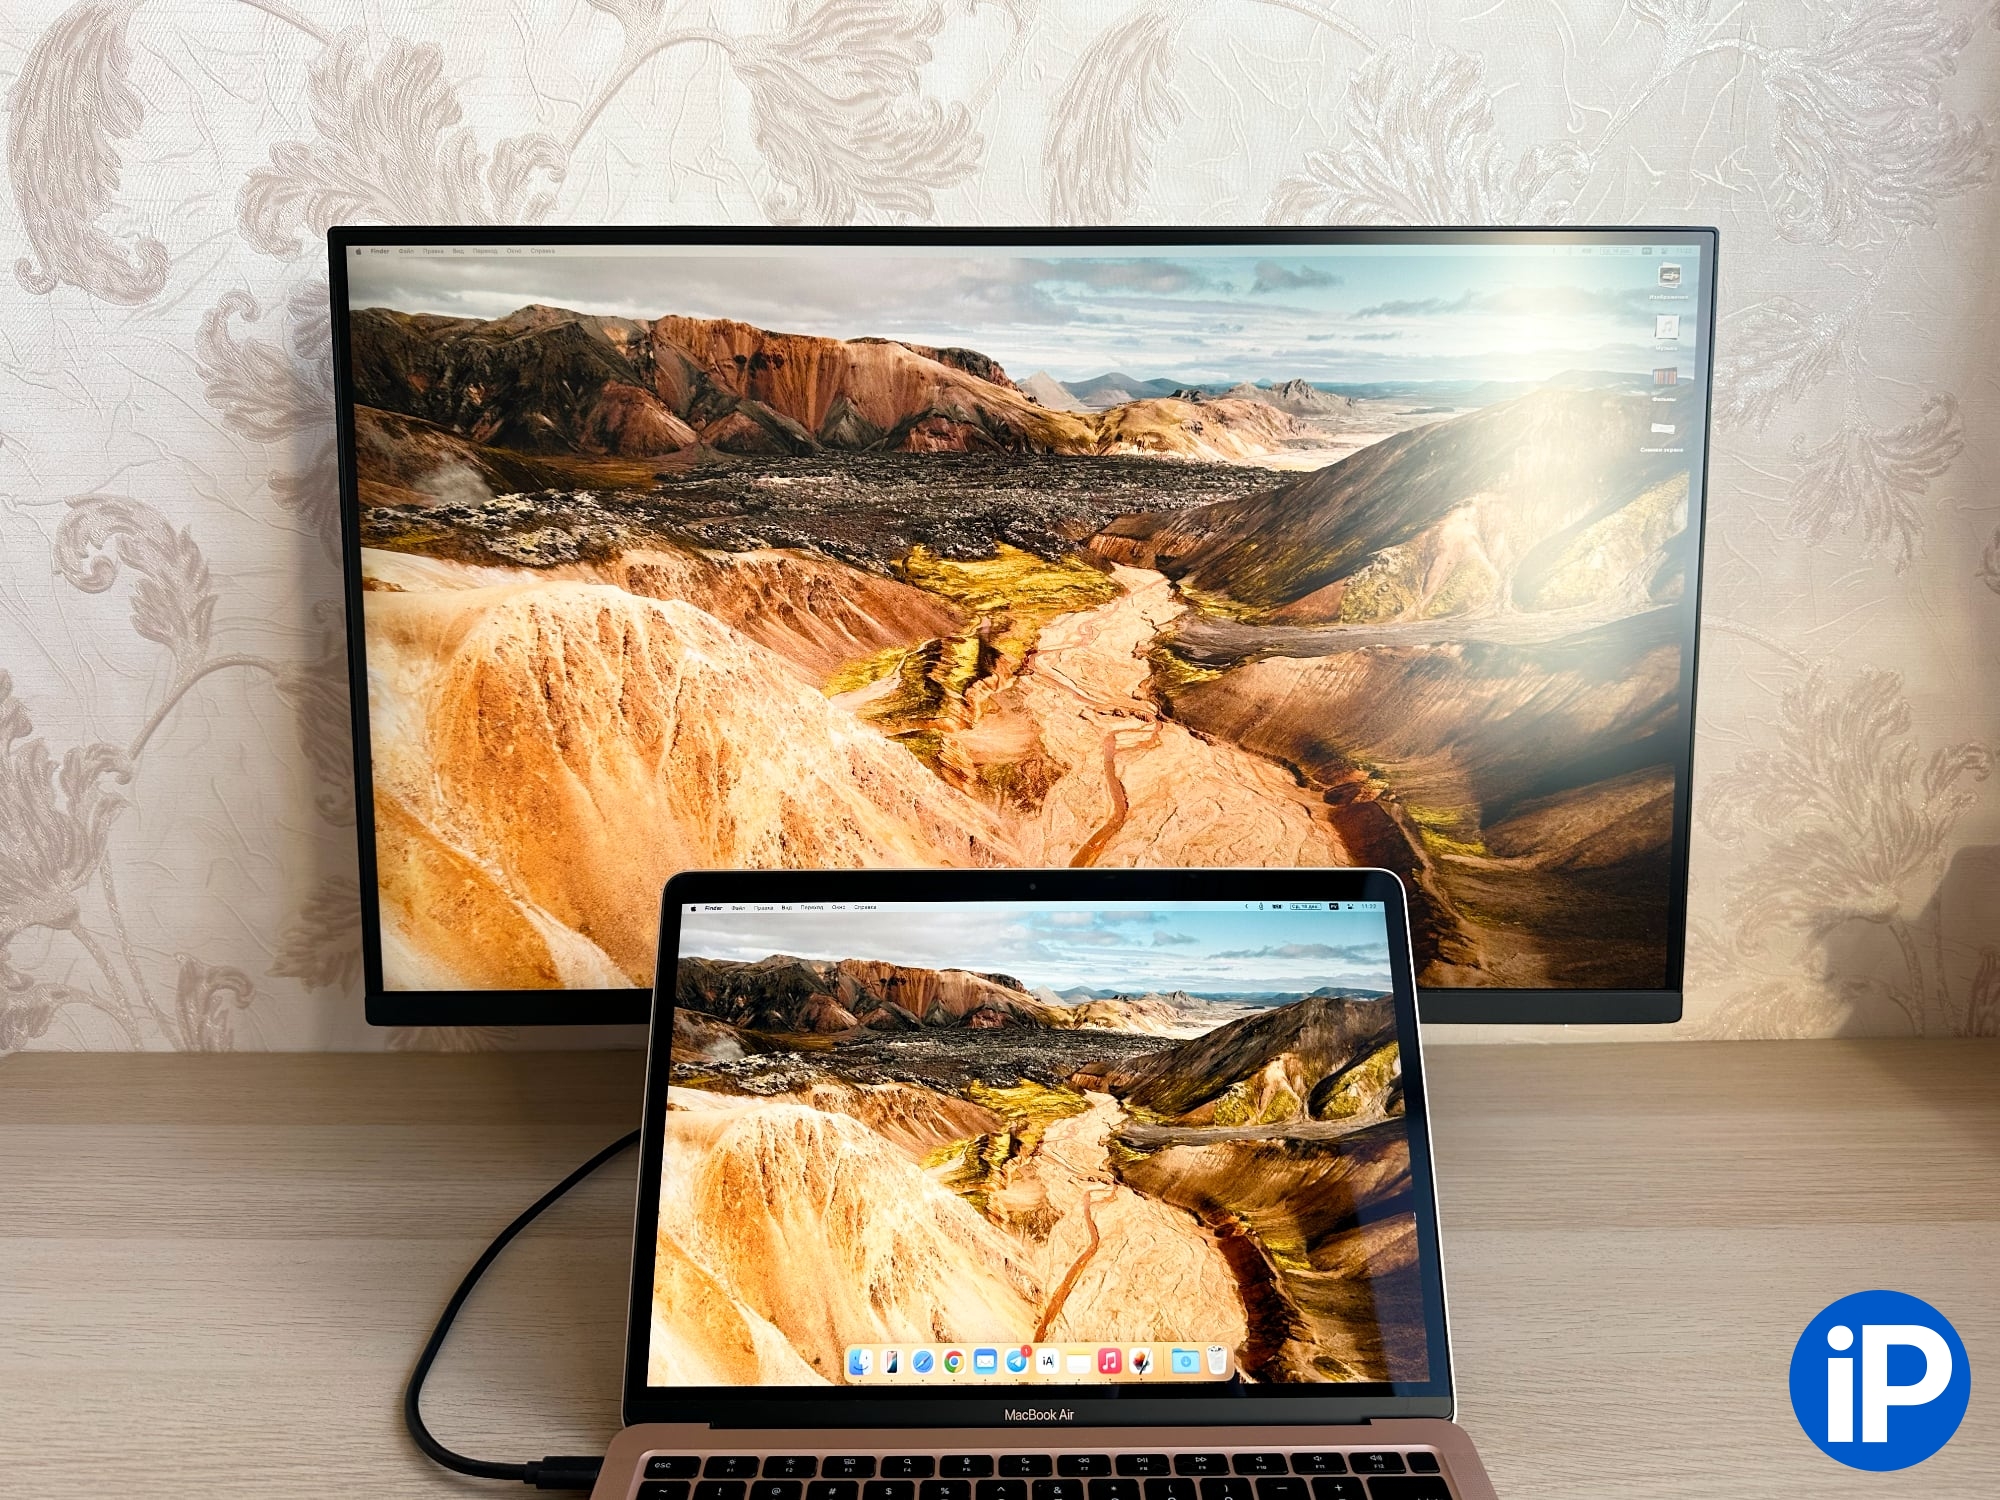
The matte screen does a good job of suppressing glare.
After purchasing the monitor, I came across some operating features that I had not read about before.
My IKEA desk measuring 120x60 cm is enough to comfortably work with a 27-inch monitor. For such monitors, the depth of the table should be at least 70 cm, and preferably 80 cm, so I had to buy a new table 140x80 cm.
Initially, I did not plan to work with an open MacBook, and when I tried it, I was convinced that this was the right decision.
The fact is that if I position the monitor in a way that is convenient for me, the laptop screen, when open, covers part of the monitor. Accordingly, the larger the MacBook size, the larger the monitor area it will cover. And this problem cannot be solved by the depth of the table.
There are two options: either put the MacBook on the stand on the side, or close the lid completely and use only the monitor, which is what I plan to do. In addition, I personally don’t need two screens, since I’m used to working with virtual desktops.
If you use your MacBook with the lid closed or on a stand, you'll need a keyboard, trackpad, and speakers. A good set will cost a considerable amount, most likely more than the monitor itself.
What does a large monitor feel like?
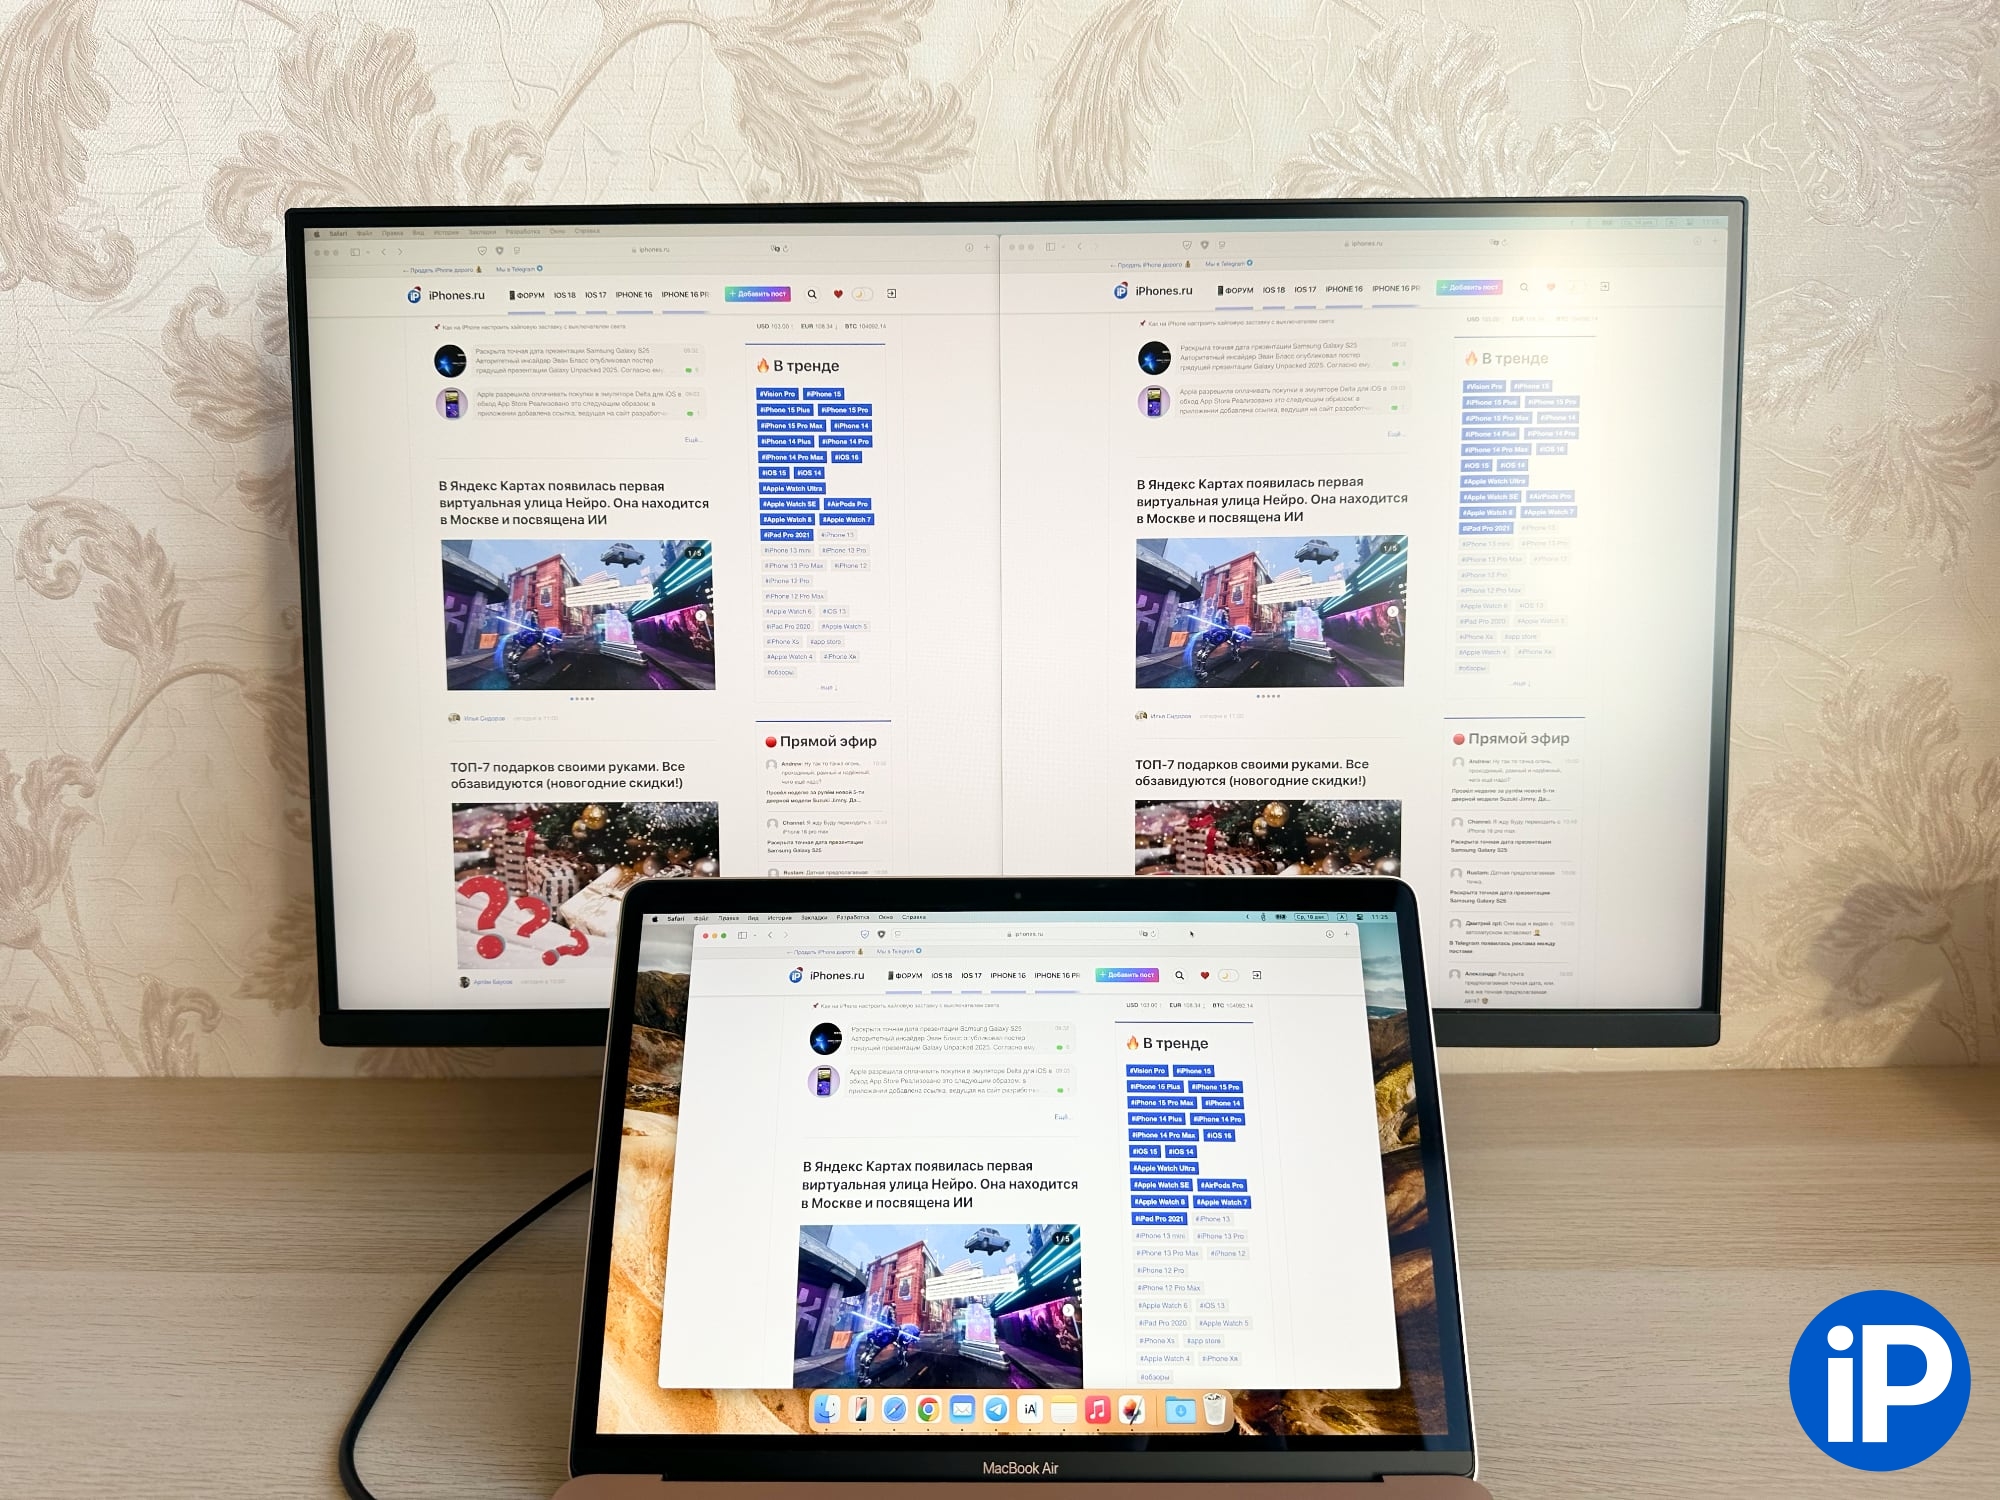
The photo was taken on a sunny day, the monitor is located near an open window. The glare is noticeable in the photo, but in real life it does not interfere at all.
After a decade of using 13-inch laptops, the 27-inch monitor feels like something from another universe.
I use a MacBook Air with 1680x1050 scaling, and even in this mode, only one open application fits on the laptop screen. The second one can no longer be placed nearby.
For my external monitor I have the scaling set to 3008x1692. This is enough so that the font is not too small and the work is comfortable.
macOS scaling difference: 1920x1080, 2540x1440 and 3008x1692
On the monitor, I can, for example, place two browser windows side by side, which will not be limited in size. Pixelmator Pro has no hidden buttons, and Final Cut Pro has more free space to display video previews normally.
Websites in the browser are no longer limited by the width of the window. In fact, the Internet feels different because some sites look different on a large display than they do on a small screen. This is a big plus for work, since much more information now fits on the screen, and you have to scroll through pages less often.
Another unobvious advantage of a large monitor is its positive effect on posture. The head now looks straight instead of down, so the neck remains in its natural position. As a result, sitting at the table became much more comfortable.
How to control the brightness and volume of a connected monitor on a Mac
To work with the monitor, I use the MonitorControl program. It's free, open source, and its capabilities are enough for me. More precisely, all I need from it is the function of simultaneous brightness adjustment on two screens so that the values coincide.
Brief summary
I'm completely happy with the upgrade to a larger monitor. I still haven’t found a single reason to abandon it or buy a model with a smaller screen.
Working at a computer has become much more comfortable. Even just watching videos on YouTube has become more enjoyable because the screen is larger and there are no black bars at the top and bottom, like on all MacBooks.
However, now you will have to buy additional accessories to make your work even more comfortable.
📸 All photos in the article:
Source: www.iphones.ru


