While the vast majority of phones have Android 14 at best and a select few Android 15, Google is already offering a developer preview of Android 16. If you want to try Android 16, it will be a bit more complicatedbefore the public beta of Android 15.
Attention: this is the very first version that we definitely do not recommend installing on your main phone. It may contain various errors and may not be relied upon. For your main device, we recommend waiting at least until the public beta, but preferably for a stable version. She should arrive quite soon this time.
First, make sure you have supported phone. The preview can now be installed on the following models:
- Pixel 6 a 6 Pro
- Pixel 6a
- Pixel 7 a7 Pro
- Pixel 7a
- Pixel Fold
- Pixel Tablet
- Pixel 8 a 8 Pro
- Pixel 8a
- Pixel 9, 9 Pro, 9 Pro XL, a 9 Pro Fold
You can choose between downloading the appropriate bitmap and installing it manually or flashing it via a web application. We will show you the second procedure, which is much simpler and safer.
Preparing the phone
As a first step, do data backup. It is part of the process complete deletion of the phone! If you haven’t already done so, enable USB Debugging in the developer options. Next, enable OEM Unlock. You will need to enter a PIN for this.
If you’re installing Android 16 on Windows, install the drivers for your phone.
Phone connection
Connect your phone to your computer. Use a good quality cable and connect it directly to the computer, don’t use any hubs etc. Then go to the page Android Flash Tool. This is where you start the process of uploading (flashing) Android 16.
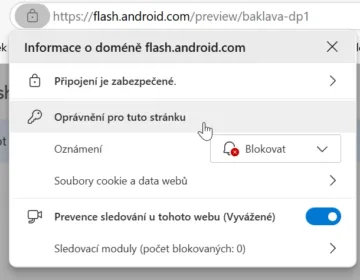
First you select your phone. Maybe nothing happens and the Show dialog again button does nothing. This is due to pop-up blocking. Set the appropriate permissions for this site, enable notifications right away. You will need it later.


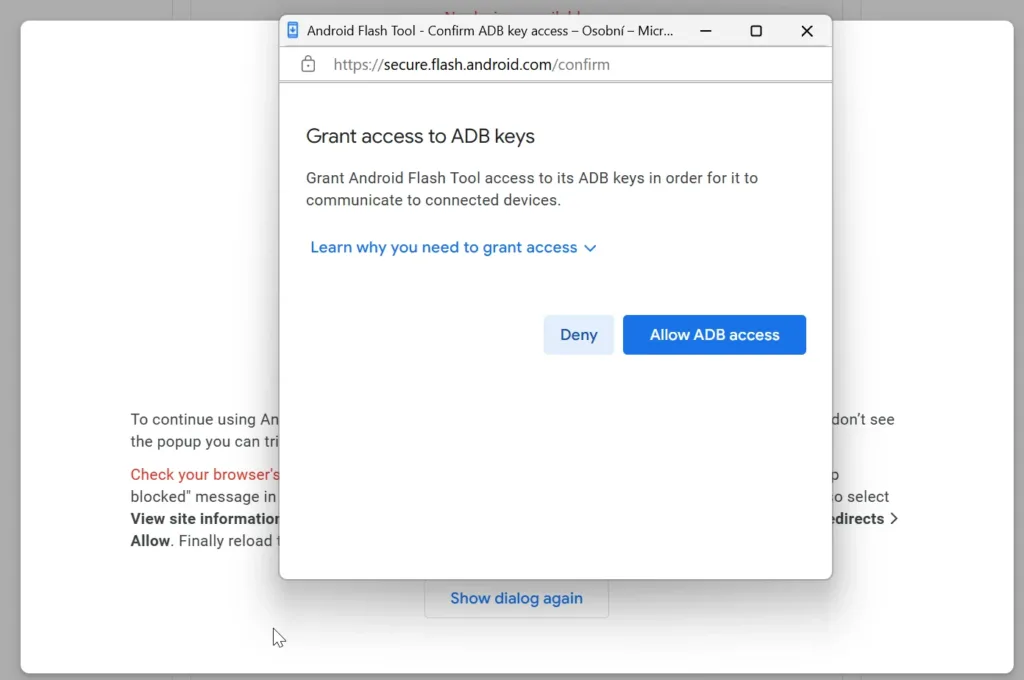
Now the Show dialog again button will work. First you need to enable access via ADB. A dialog will appear on the mobile, which must be confirmed. This will allow the computer to manage the phone.
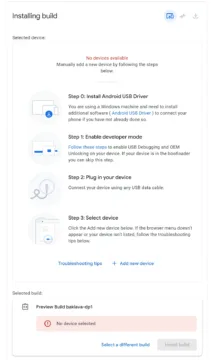
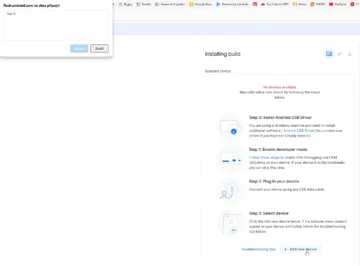
Now click the button Add new device. A list of connected phones will appear, in my case quite unexpectedly in the corner of the monitor. Select phone and confirm. The selected phone and the corresponding system build will be displayed. With a button Install build you start flashing.
Attention
During the flashing process, do not disconnect the phone from the computer or handle it except for the steps mentioned in the manual.
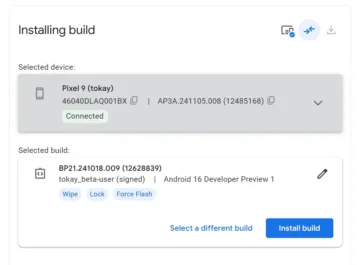
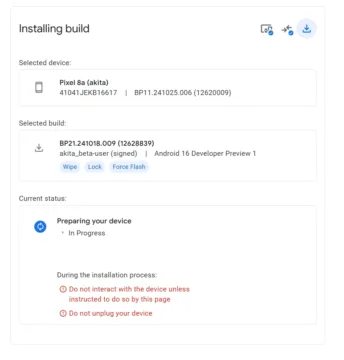
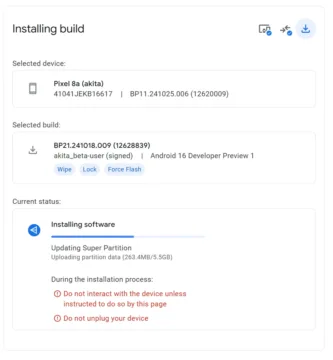
Flashing progress will now be displayed. The system is downloading from the Internet, the duration of the entire process will depend on the speed of your connection. You will be prompted to unlock and later to lock the bootloader. Those are the only times you’ll (besides enabling ADB at the beginning) tamper with the phone.
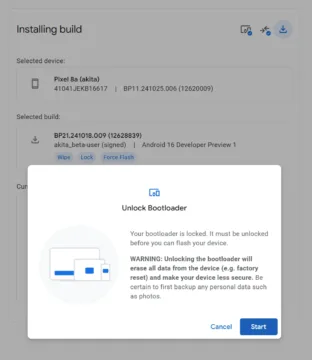
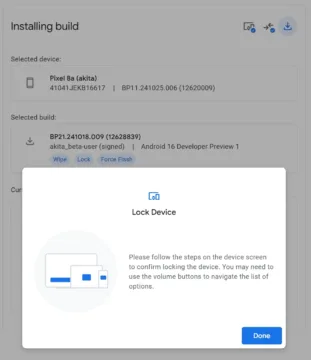
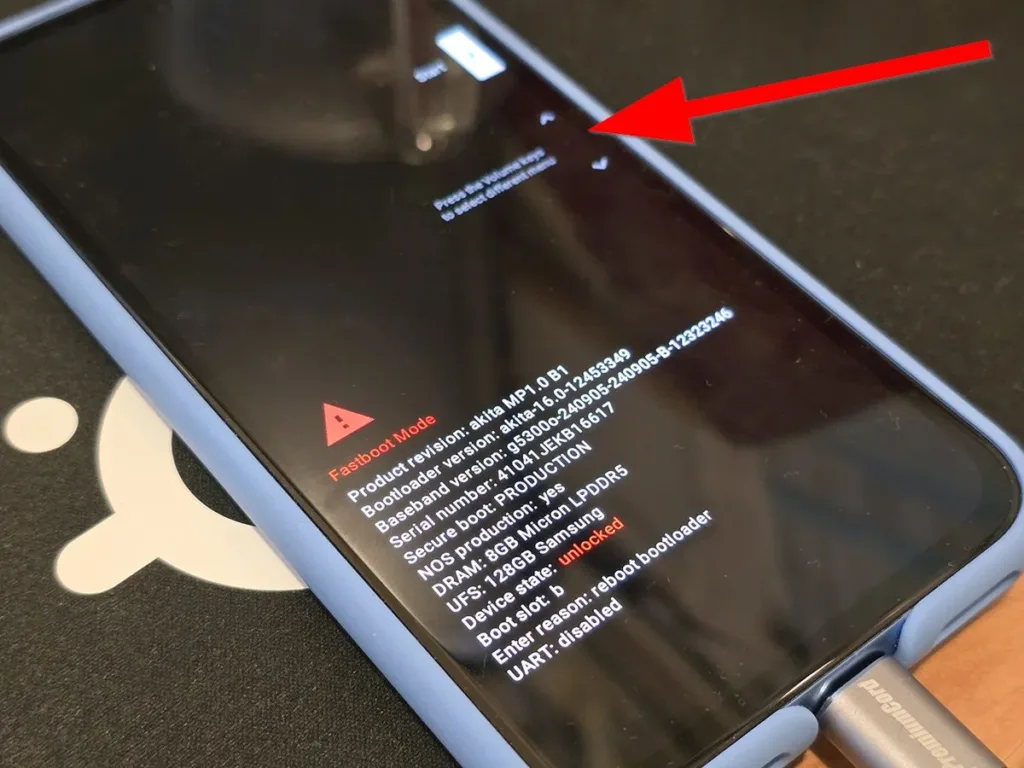
Bootloader
The display shows information about unlocking / locking the bootloader. There will always be an opposite challenge at the top. Use the volume up / down keys to change the answer and the power key to confirm it.
Android 16
Then the phone will restart and after a short boot you can enjoy the news. There aren’t many of them in the first build yet, but you can already go through the new installation process, when you will be offered, for example, Quick Share.
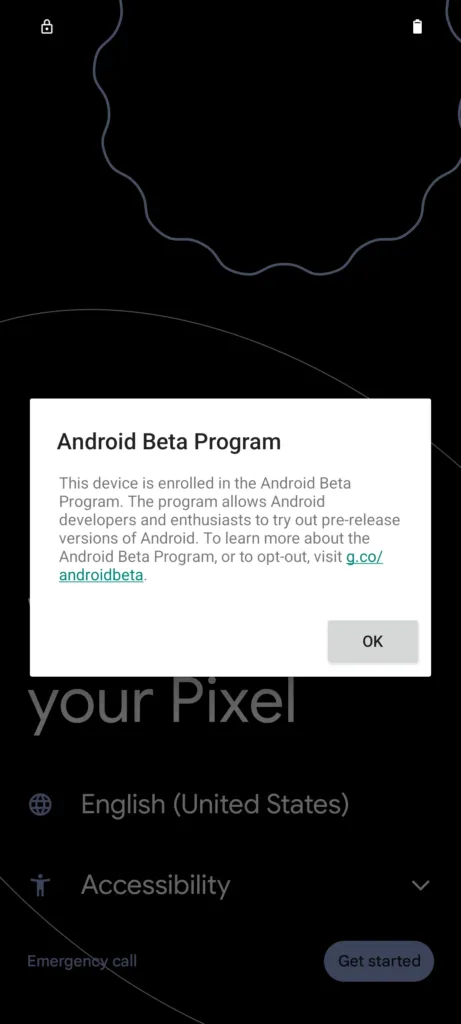
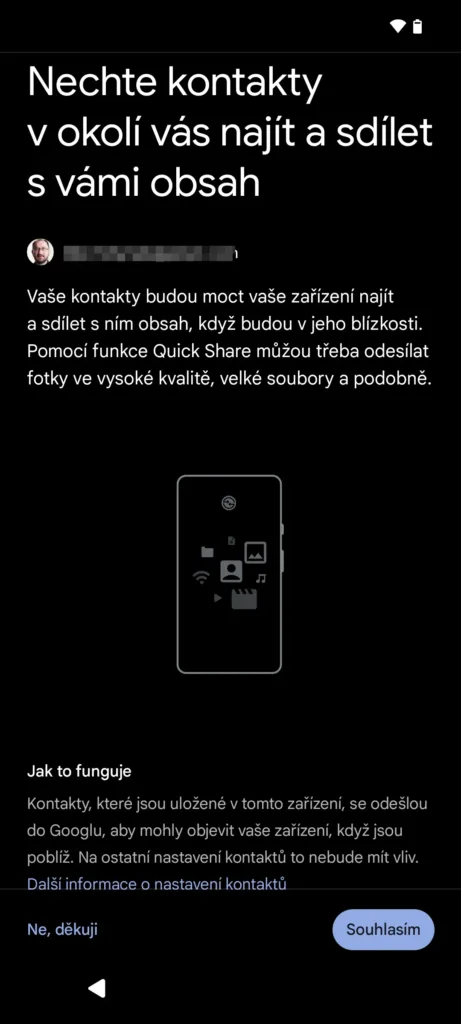
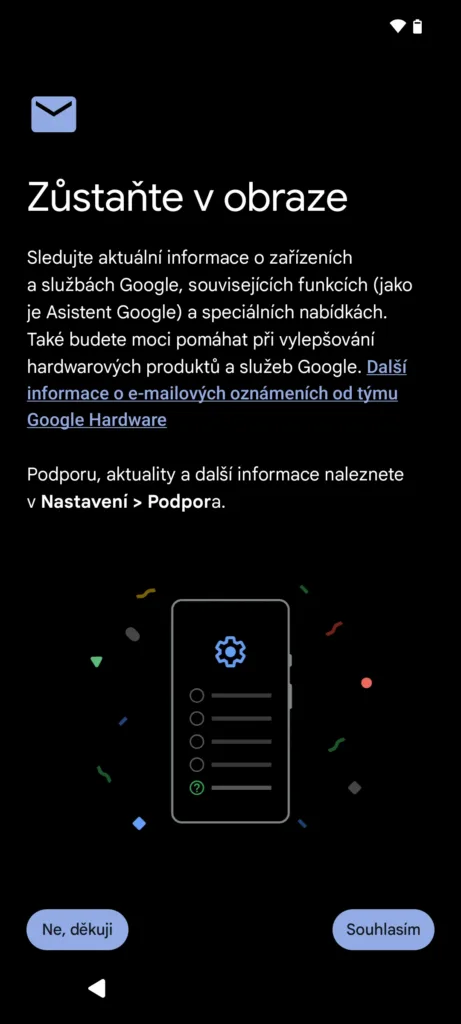
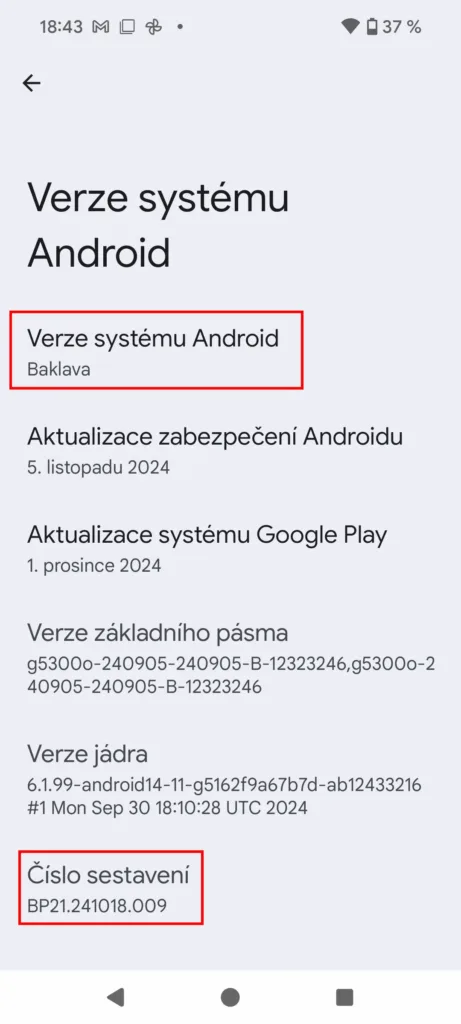
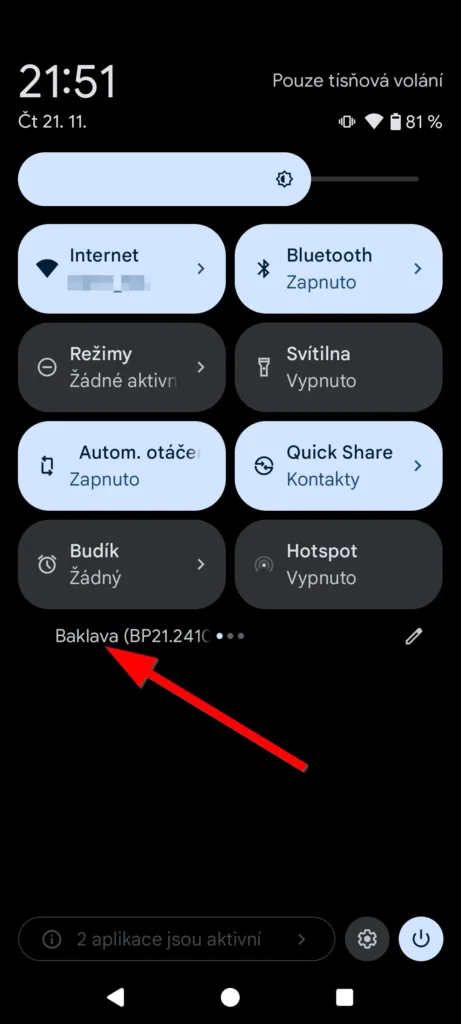
We can also see that Android 16 is really called Baklava, as we wrote before.
Developer preview
This is an early version of the system intended for application developers who are familiar with the new features on it. It is in no way intended for normal use! If you use it on the main phone, the editors are in no way responsible for possible problems.
Will you try the Android 16 developer preview?
Source: Google
Source: www.svetandroida.cz


